“If you are wondering how to Replace a Hoover Vacuum Belt, you have come to the right place. In this article, I will discuss how to do so easily. “
We often think of cleaning our homes with a vacuum cleaner, but sometimes, it has problems. A few days ago, when my colleague came to our house, I hurried to clean up my room and then took my vacuum. But that time, I noticed some problems with my Hoover vacuum cleaner.
I came here to answer all your questions about why your vacuum is not working properly, why it suddenly stopped, why it is making noise, and when the belt needs to be changed.
So, let’s start with how to replace the Hoover vacuum belt.
Relevant Article
- How to Clean Hoover Vacuum Cleaner
- How to Fix a Hoover Vacuum Cleaner
- How to Use Hoover Vacuum Cleaner
- How to Turn On Hoover Vacuum
- Hoover Carpet Cleaner Not Spraying Water
- Hoover PowerDash Pet Carpet Cleaner Burning Smell
“How to Replace Hoover Vacuum Belt“
Nowadays, we can’t imagine cleaning our house without a vacuum cleaner. If your vacuum cleaner belt has a problem, you must replace it.
To replace a Hoover vacuum belt, start by unplugging the vacuum from the power outlet. Lay it upside down to access the bottom. Remove the screws or clips securing the bottom plate to reveal the brush roll and belt compartment. Carefully remove the brush roll and the old belt. Put the new belt onto the motor shaft and around the brush roller. Ensure the belt is positioned correctly. Reattach the brush roller and secure it in place. Finally, put the bottom plate back on and fasten it with the screws or clips. Plug the vacuum back in and test to ensure proper functionality.
Tools and Materials
If you suddenly face a problem replacing your vacuum belt and need to fix it for yourself, you should have these tools and materials ready before starting. This will help You complete the task successfully.
Tools:
- Screwdriver:
- Needle-nose pliers:
- Flathead or Phillips-head screwdriver:
- Scissors:
Materials:
- Replacement Hoover vacuum belt:
- Safety glasses:
- Work gloves:
- Clean cloth or paper towels:
- A well-lit workspace:
Safety Precautions
Safety should always be a top priority when working on any appliance, such as a vacuum cleaner.
If your child or your connection is on, please save your child and turn off your electricity. If you cleaned your home recently, allow your vacuum cleaner to cool before attempting repairs.
Then, Protect your eyes, Clear the Area, and Use Proper Tools to work properly. Double-check that you have all the tools and parts, and now you can change your Hoover vacuum belt on yourself.
Read our comprehensive guide on How to clean dyson cylinder vacuum
How to Replace Hoover Vacuum Belt: Step-by-Step Guide
While it is possible to accomplish basic vacuum repairs at home, knowing how to replace a vacuum belt can significantly reduce the time and money spent at the shop.
Because vacuum belts are constructed to stretch, degrade, and eventually break, each vacuum owner can save time and money by understanding the fundamentals of vacuum belt replacement.
Fortunately, replacing the vacuum belt on most vacuum cleaners is straightforward. Belt replacements should never require vacuum owners to transport machines to a repair shop.
Vacuum Belt Replacement Steps
There are many vacuum cleaners in the world. The procedures for changing the belt on a vacuum vary from one model and style to another.
These distinctions aside, there are several commonalities among vacuum belt replacements.
This page aims to provide DIY vacuum owners with generic instructions for changing their belts so they may use them for any vacuum.
1. Access the vacuum belt and brush roll area.

Okay. First, you unplugged your vacuum from the safety outlet. Then, you put the vacuum cleaner’s brush roll behind it and the bottom upside down. The belt compartment is easily accessible from this posture.
Most Hoover vacuums include a bottom plate protecting the brush roll and belt. Look for the belt compartment screws or clips holding this plate. Remove these screws or clips using a screwdriver or other instrument.
After removing the screws or clips, carefully peel off the bottom plate to reveal the brush roll and belt. Safeguard the plate and screws.
The vacuum’s belt portion is often situated close to the brush roll.
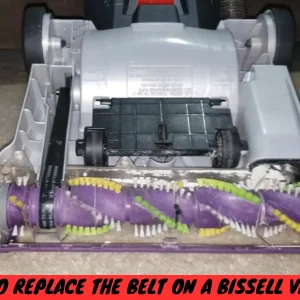
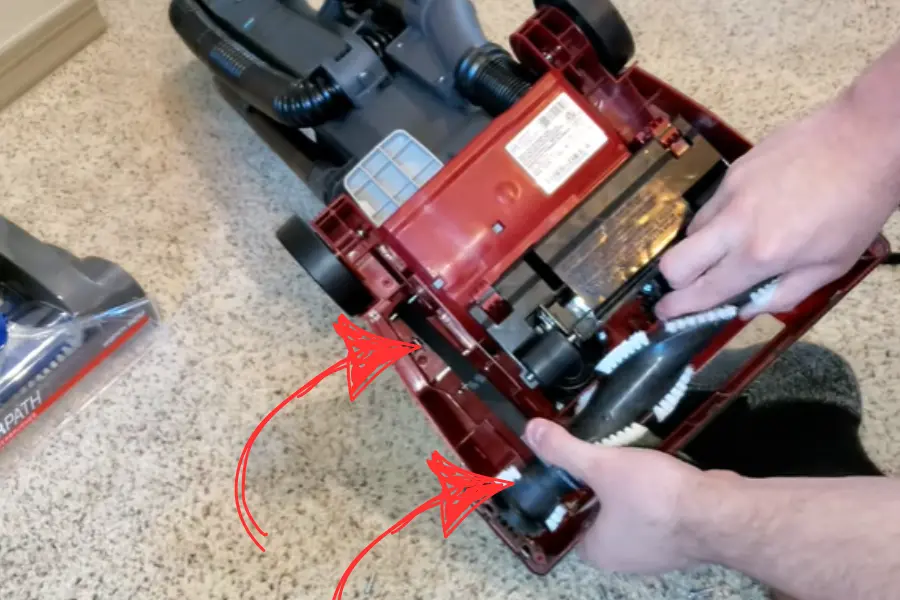
2. Remove the Brushroller and the Old Belt

Before you remove the old belt and brush roll, examine how they are set up in the vacuum and how they connect.
The belt on our Hoover Wind Tunnel (shown below) is a flat vacuum belt. It is stretched and held in place between the motor shaft and the brush roller.
First, remove the brush roll from with, remove the brush roll from the vacuum and slide it out of the belt loop. Next, remove the other end of the vacuum belt from the motor shaft.
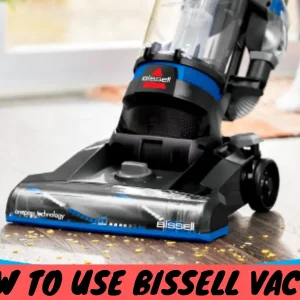
We’ve also covered a post on a similar topic, which you can find here How to Use Bissell Vacuum Effectively
3. Install the New Vacuum Belt on the Motor Shaft and Brush Roller
Take note! If your vacuum uses a round or flat belt, the belt is pulled tight between the motor shaft and the brushroller. It might look like the new belt needs to be bigger for the vacuum.
This is most likely normal and what you should expect. Make sure you have the right part for your vacuum. Also, remember that both round and flat vacuum belts stretch a lot over time. V-belts and gear belts also stretch, but less.
If you hold the old belt up against the new one, the old belt will look much bigger because it has been stretched so much by vacuum use.
To begin, move the new vacuum belt around the vacuum motor shaft. Put the brush roll through the other end of the belt after it’s on the shaft.
4. Install the Brush Roller With the Belt Correctly Positioned on It
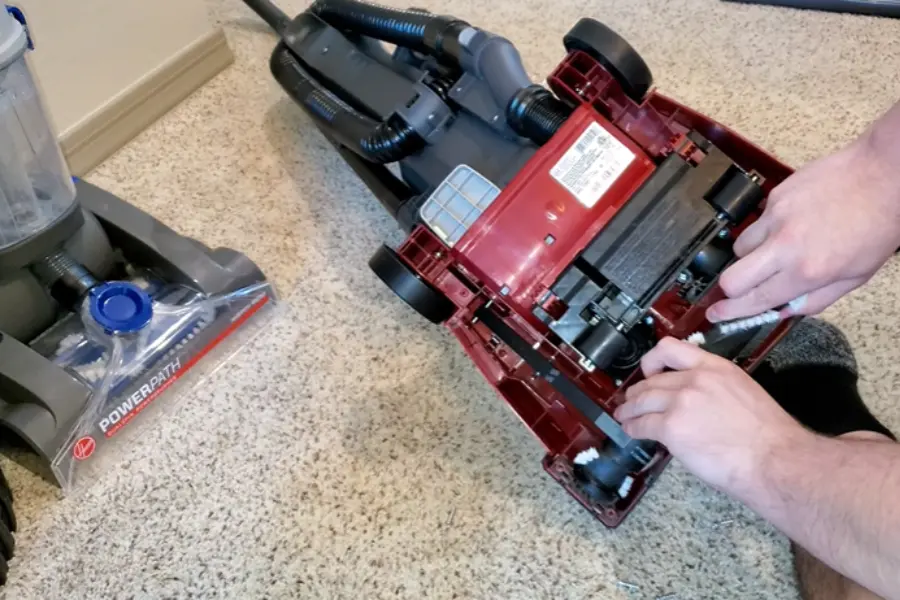
No matter what kind of vacuum cleaner you have, you should put the brush roll and belt back where they belong before closing the vacuum case.
For vacuums with round and flat belts, you’ll need to use a little muscle to move the brush roll into place while the new belt still needs to be stretched out.
The vacuum we showed you have a notch on the side of the brush roll that is not attached to the belt. This goes into the vacuum.
Once that side of the brush is in place, give the belt side of the roller a good pull, and it will snap right into place (watch your fingers!).
You can do this much more easily if you stand over the vacuum while it’s on the ground. A properly placed foot can provide the right support.
Looking for more such informational blog topics? Read our recent blog post on
Differences Between Commercial & Residential Vacuum Cleaners
5. Testing the Vacuum
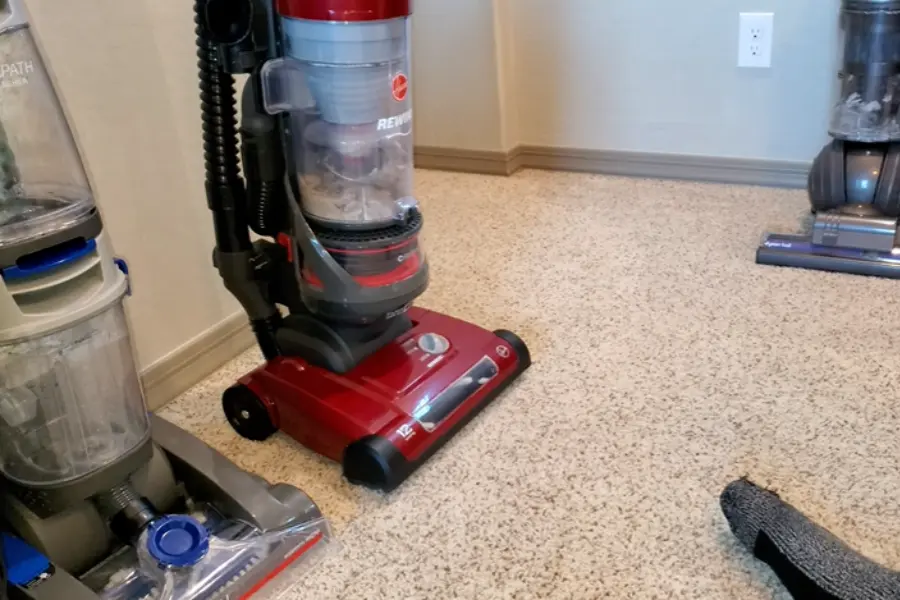
Put the vacuum’s bottom plate back on securely by using the screws or clips you took off earlier.
Connect your Hoover cleaner again to the wall.
Check to see if the brush roll turns after turning on the vacuum. The brush should make noise as it moves across the floor or carpet.
Test the vacuum in different areas to ensure it gets rid of dirt well. You can change the belt if the brush roll turns and the vacuum works properly.
Maintenance Tips
Additionally, if you want to extend the life of your vacuum cleaner and use it for a long time, you must take good care of it because it’s a machine.
I suggest you change your vacuum belt every 6 or 12 months because when you use your vacuum cleaner regularly, your vacuum may have issues, such as making noise and having other problems.
That’s why you need to change the belt carefully. Also, Regularly clean the accumulated hair, dirt, or threads around the brush roll and ensure the belt works with less pressure, increasing efficiency.
To maintain optimal suction power, empty the trash can halfway on bagless versions and models with bags and replace the bag before it reaches total capacity to reduce stress on the vacuum’s motor.
“Reader Engagement”
We appreciate your feedback and questions regarding the Hoover vacuum cleaner. If you have any thoughts or queries, please share them in the comments section below. If you found this manual useful, consider sharing it with your friends and family so they can effectively care for their Hoover carpet cleaner. Happy cleaning!
Conclusion
In this article, I will share my real-life experience of replacing a Hoover vacuum belt. I hope you will benefit from it. Lastly, it’s a machine, so you need to be patient. It will be good for your vacuum cleaner and give you good service.
Thanks for staying with us; keep reading. If you like this article and it will help you, please share it with your friends and family.
FAQs
The vacuum belt should be replaced every 6 to 12 months, depending on usage and the condition of the belt.
Using genuine Hoover vacuum belts is recommended to ensure proper fit and performance.
Double-check the belt’s alignment and make sure it is installed correctly. If the issue persists, consult a professional.
No, washing the vacuum belt may cause damage to the rubber material. Replace it when it shows signs of wear.
If the belt keeps breaking, there might be an underlying issue with the vacuum’s components. Contact Hoover customer support for assistance.